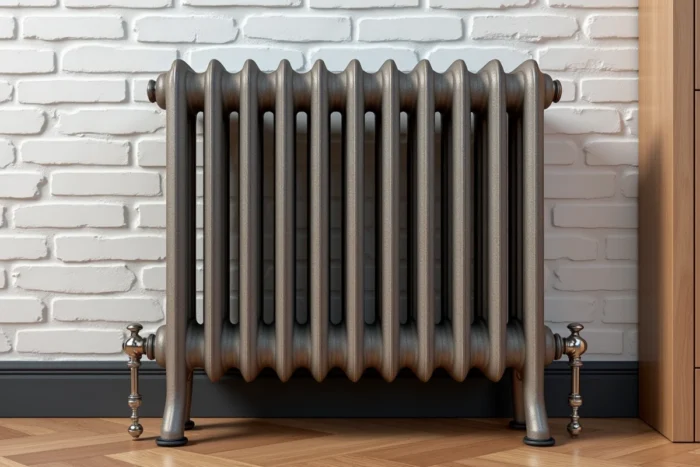
A cast iron radiator with ten elements filled with water can exceed one hundred kilograms. Placing a foot on the ground to support this load without drilling into the wall requires calculating the actual operating weight, choosing a support suitable for the floor covering, and stabilizing the whole against lateral forces. This article compares methods of fixing without drilling and details the technical parameters that determine the success of the installation.
Operating load of a cast iron radiator: the calculation that manuals overlook
Most guides mention the empty weight of the radiator. This figure is misleading. A cast iron radiator filled with water weighs significantly more than its catalog value, and it is this operating load that determines the sizing of the foot.
According to Albatica, the calculation method used by professionals follows a precise formula: total operating weight = number of elements multiplied by the sum of the empty weight per element and the weight of water per element. A safety factor of about 1.5 is then applied to choose the support, whether it be brackets, flat brackets, or freestanding feet.
This factor covers lateral forces (accidental shock, vibrations from the piping) and the material wear margin. Even without drilling into the wall, it remains relevant: an undersized foot can slip or deform under a load that exceeds its nominal capacity.
| Parameter | What the manual states | What needs to be calculated |
|---|---|---|
| Reference weight | Empty weight (cast iron only) | Empty weight + weight of water per element |
| Safety factor | Rarely mentioned | About 1.5 according to professional practice |
| Forces considered | Static vertical load | Vertical load + lateral forces |
| Application | Choice of wall plugs | Sizing of the foot on the ground |
For those looking to install a foot for a radiator on La Petite Maison dans la Prairie, this load calculation is the first step before any equipment purchase.
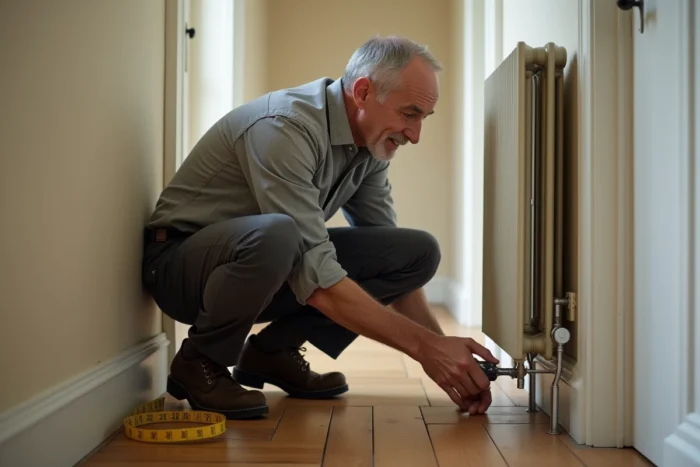
Freestanding feet for cast iron radiators: selection criteria based on the floor
The type of floor covering radically changes the behavior of a radiator foot. On smooth tiles, the cast iron placed on a metal foot tends to slide as soon as the circuit is purged or the radiator is bumped. On a wooden floor, the main risk is localized sinking under concentrated load.
Load distribution on wood and tile
A wide base foot distributes the mass over a larger surface area, which limits the pressure per square centimeter. On old wood floors, this distribution protects the planks from marking. On tiles, a non-slip sole or rubber pad prevents the gradual slipping caused by the thermal expansions of the radiator.
Lateral stability without wall fixation
Without anchoring to the wall, the radiator rests solely on its feet. All stability depends on three factors:
- The spacing between the feet: the wider they are spaced, the more the radiator resists tipping. A minimum spacing of two-thirds of the total width of the radiator is recommended by bracket manufacturers.
- The weight of the foot itself: a foot made of cast iron or thick steel lowers the center of gravity of the whole and increases inertia against shocks.
- The contact with the ground: a foot without a pad on a slippery surface turns the radiator into a mobile object with the slightest push.
On a perfectly flat surface, two feet are sufficient for a radiator with fewer than eight elements. Beyond that, a third central foot prevents bending of the base of the radiator, which can cause leaks at the connections between elements.
Fixing without drilling the wall: technical alternatives and limits
Drilling is not the only method of attaching to the wall. Several systems exist to hold the radiator in position without touching the masonry, but each has a limited area of application.
Support straps and adhesive wall brackets
Stainless steel straps, fixed to the radiator with clamps and connected to the wall by a structural adhesive like VHB (Very High Bond), can take lateral forces. This solution works on a smooth wall (tiles, satin paint on hard plaster) but is not suitable for a plastered or porous wall where adhesion quickly drops.
The allowable lateral load of a structural adhesive depends on the contact surface and temperature. Near a cast iron radiator that radiates heat, the surface temperature of the wall can exceed the optimal threshold for some adhesives. Checking the product technical sheet on this point avoids failure in the middle of winter.
Blocking wedges between wall and radiator
A more rudimentary method involves inserting hardwood or dense rubber wedges between the back of the radiator and the wall. The wedges absorb vibrations and prevent the radiator from tipping backward. They do not take any vertical load: the weight remains entirely on the feet.
This approach is suitable for tenants who cannot drill or glue. It assumes that the wall is close enough to the radiator for the wedge to remain compressed at all times.
Common mistakes when installing a cast iron radiator foot on an existing floor
Three mistakes frequently appear in feedback on DIY forums.
- Neglecting the weight of the water: the radiator seems stable when empty, then tips or slides once the circuit is filled. Calculating the operating load with the safety factor eliminates this risk.
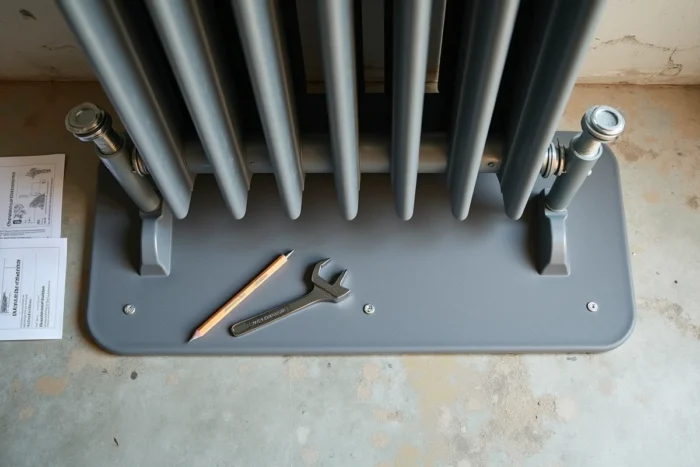
- Placing the foot directly on a soft floor (linoleum, carpet) without inserting a distribution plate: the concentrated load deforms the covering and the foot gradually sinks, creating an imbalance.
- Omitting to check for level after filling: an unlevel cast iron radiator accumulates air in the upper elements, which reduces heat distribution and causes water circulation noises.
A bubble level placed on top of the radiator after filling and purging confirms that the feet are correctly adjusted. Most quality feet have a height adjustment screw system that allows for this adjustment without removing the radiator.
The choice of a cast iron radiator foot without wall drilling relies on the precise calculation of the operating load, compatibility with the floor covering, and a lateral support system suitable for the type of wall. A properly sized foot, placed on a stable surface with non-slip pads, offers a hold comparable to a traditional wall fixation, provided the recommended safety factor of 1.5 is respected by professionals.